Showing posts with label baking. Show all posts

Monday, January 16, 2012

Birthday Cakes

I'm afraid I might have lost all my blogger friends since I haven't posted in a while. 2012 has started off with a bang and as busy as ever.

Over the weekend, we celebrated my husband Landon's birthday. Well, we actually celebrated last week by having some friends over because I had to work all day Saturday, which was his actual birthday.

I gave Landon the choice of what he would like to eat, willing to prepare anything he wanted. Of, course, he defaulted to his favorite food -- pizza. So, I asked him about what type of cake he wanted. Not much of a sweet eater, he said he didn't really want one. But, I don't think you can have a birthday without a cake.

With it being my choice of cake, I decided to make one of my favorite cakes that is easy and oh so good. This is a cake that I got hooked on in college because my roommate Kate loved to make it ... and we both loved to eat it!

It has several names but I typically call it Heath Bar Cake.


Here's what you need:
  • 1 (18.25 ounce) package devil's food cake mix
  • 1/2 (14 ounce) can sweetened condensed milk
  • 6 ounces caramel ice cream topping
  • 3 (1.4 ounce) Heath Bars, chopped or crushed
  • 1 (8 ounce) container cool whip, thawed
As I said, it is one of the simplest cakes to make. Just bake the cake mix in a 9x13 in pan according to the package and let cool for about five minutes.

Next, poke holes all over the cake (but don't poke all the way through). You can use your utensil of choice for this. I read where some people like to use a fork to get even coverage. I just used the end of a wooden spoon.

Meanwhile, mix your condensed milk and caramel sauce in a saucepan over low heat until blended.  Then, pour the mixture over the top of the warm cake and let it sink in. Sprinkle your crushed Heath Bars on top of the cake, but reserve a few to decorate with. Finally, once the cake is completely cool, spread the cool whip over top and decorate with your remaining caramel and heath bars. Refrigerate and serve!

This is one of those cakes that gets better as it sits, so if you can make it the night before, do!

All our friends loved the cake and I took the leftovers to work Friday where it also received rave reviews. So, I highly recommend!


Thursday, December 22, 2011

Homemade Christmas Goodies

I always feel really guilty when I haven't blogged for a while. The thing is, you would think I didn't realize Christmas came each year on December 25th, because I waited until the last minute to do everything this year.

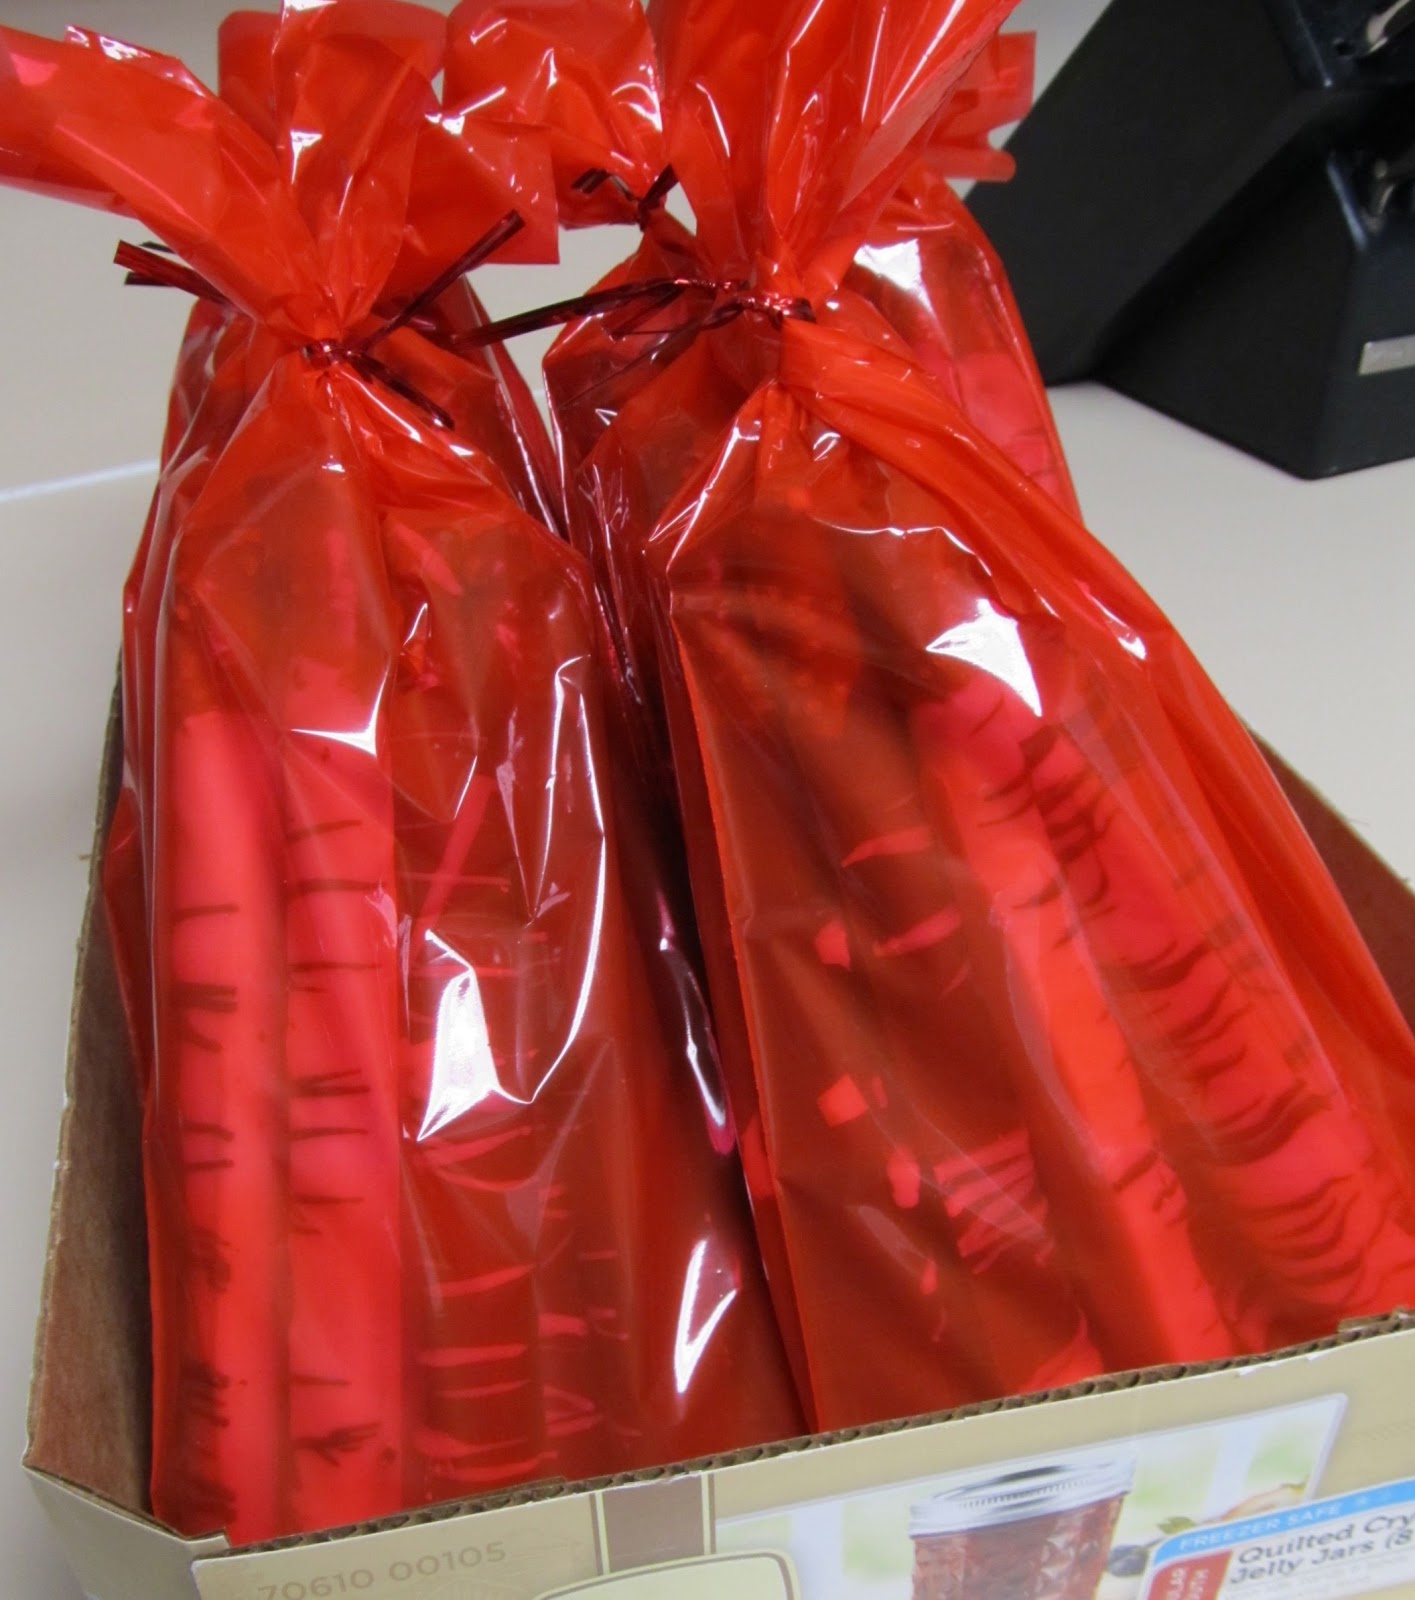
Last weekend I was busy. Including making some Christmas goodies for Landon's co-workers -- chocolate covered pretzel rods. 

These have become my signature Christmas gift. Not only do they taste good but they are so easy to make look good. I'm not sure if the recipients like them as much as Landon. It is always his requested gift for co-workers, mostly because he knows I'll make extras that he'll get to eat. 

So, here's what you need to make these: pretzel rods and two types of chocolate (I use almond bark because it melts so easily, though I have also used chocolate chips in the past).


Next, melt the chocolate in two separate pans. Here is one step that I wish was a little easier. Not that melting chocolate is hard, because it's very easy, but it's choosing the right pan that is the problem. See, I think someone needs to invent a tall, skinny sauce pan in which I can actually dip the pretzels. Instead, I usually just use a regular sauce pan and spoon the chocolate over. Not nearly as easy, though it's still not hard.

There is a very important step after you spoon the chocolate over. Once you do that, you need to spin the pretzel in small circles to make sure to get rid of all the excess chocolate. Otherwise, when you lay it down to dry, all the excess runs off in a puddle. It takes a bit away from the beauty of them.


After you have done this, place the pretzel rod on wax paper and let them dry.


Once dry, here's where the fun part come in. Grab a fork and dip it in your other chocolate. Feel free to dip generously. You want your fork to be covered with a good layer.


Then, take the fork and fling it over the dipped pretzel rods. Now, this process doesn't have to be perfect but you will want to be somewhat careful not to fling too hard. The first time I did this, I ended up with strands of chocolate all over my kitchen. 

The end result should be a beautiful pretzel rod.


You'll want to let this layer of chocolate dry as well, but then you can bag them up. I usually buy the tall, cellophane gift bags at Wal-mart or Target and use those. It's the perfect size.


I dip my pretzels in both the chocolate and white chocolate and simply decorate with the other color. You can also decorate with white on white or so forth. It makes for a nice sophisticated look. In the past, I've also gotten creative with my flavors, using dark chocolate and even mint. You can really do whatever you like. 

What "staple" Christmas goodies do you make every year?


Thursday, November 24, 2011

Giving Thanks

Happy Thanksgiving! 

This is a monumental Thanksgiving for Landon and I because it is the first time we are not celebrating with any family members. Because our family all came to visit us a few weeks ago, they are obviously not coming back, and due to a lack of vacation time and expensive flights, we decided not to travel this year.

I am a little saddened that I am not sitting around the table and enjoying good food and great company with my family, especially since my older sister, who I haven't seen in a year, is in Nashville with her kids. Plus, my Mema makes the best Thanksgiving feast you've ever had in your life. No, really. It's the best. I definitely wish I could be with them.

So, you ask, what are we doing today for Thanksgiving? Well, while everyone is stuffing their face with turkey, Landon and I are taking a less traditional route. We decided to buy some nice, juicy steaks, asparagus and potatoes and have a complete steak dinner. Plus, we plan to hit up a few Thanksgiving Day sales. I figure if the stores are going to have them, someone needs to go shop them!

But don't worry. On Friday, we are celebrating the traditional way with our friends the Johnsons, for whom we are very grateful. I'm providing the green beans and turnip greens, which are always a staple at my family's Thanksgiving (though they won't be fresh from the garden). And, since I'm not a pumpkin pie fan, I decided to try out this Praline Pumpkin Dessert.

Source: flickr.com via Kristin on Pinterest


Also, I should mention, we had a few offers from some very gracious people who invited us over to join their family celebrations today, which we were very grateful for, but decided to stick with our unconventional plans and enjoy each other's company instead.

Regardless of the celebration, I have many things to be thankful for this year, including:
  • A God who loves and provides for me more than I deserve
  • A husband who is my best friend and is still the person I want to spend every day with after nearly seven years of marriage
  • Parents who love me so much and continue to offer me guidance, even though I am grown
  • In-laws who love me like their own daughter
  • Sisters with whom I can laugh and cry
  • Friends who care about me and brighten my day (I won't list you all ... you know who you are!)
  • A roof over my head, which also happens to be a beautiful house
  • A pantry and fridge full of food
  • Good jobs that allow us to provide for our family
  • A job that I love and enjoy getting up for everyday
  • Coworkers who are like family
  • A church where Landon and I can serve
  • A church family who loves and supports us
  • My health
  • And the list could go on ...
What are you giving thanks for this year? Perhaps it's been a difficult year for you, but I challenge you to take the time and write out what you are most thankful for this year. I guarantee you will discover many things for which to be grateful.

Wednesday, November 16, 2011

Pumpkin + Pinterest

When Landon's mom was in town a few weeks ago, we made Pumpkin Cream Cheese Muffins with Streusel topping. Of course, this was a Pinterest recipe and it is definitely one I will be using again. They were oh, so scrumptious!


Half of the batch was made with my new cute little IKEA muffin tins ... I love them!

These muffins are the wonderful creation of Laine at It's Just Laine. The full recipe can be found here: http://www.justlaine.com/2011/09/pumpkin-spice-muffins-with-cream-cheese.html

I highly recommend them. Not only were they absolutely scrumptious, but they were also easy to make, unlike some of the recipes found on Pinterest. So, add these to your list to make this "pumpkin" season.

Oh, and please check out Laine's blog! You won't be disappointed!


Tuesday, October 18, 2011

Pinterest Mexican Fiesta

Over the weekend, Landon and I had some friends over for "taco night." We've started the tradition every Sunday evening thanks to Kroger's homemade tortillas. These are by far, the best tortillas around. I don't think we can ever buy regular store-bought tortillas again.


Anyway, in honor of "taco night" with friends, I decided to try out a few Pinterest recipes.

For an appetizer, I made white queso dip.


At first, I didn't think I had let it cook long enough because it wasn't quite "burn your mouth hot," but within less than 30 minutes, the entire bowl was gone, so I'm thinking it was a success.

And, of course, I had to try a new dessert, so naturally I went with sopapilla cheesecake bars.


I must say, these were so easy to make. I did have to make one substitution. I looked all over for Mexican vanilla -- well, all over Kroger -- with no luck, so I simply used regular vanilla. They were still absolutely wonderful. Really, one of the best desserts I've ever made, especially since we ate them hot out of the oven.

I will definitely be making these again, but I will say they were not as good the second night around. unless you warm them up in the microwave. I had read online to eat these not long after they came out of the oven, and that was a good tip that I would pass along to anyone else.

If you are looking for two great recipes for your next "Mexican night," I definitely recommend these!

I'm planning to try out several more Pinterest recipes this week, so stay tuned for reviews! Oh, and if you aren't on Pinterest, you have no idea what you are missing! Go try it out now!


Thursday, September 15, 2011

A Scrumptious Birthday

Happy birthday, Joseph Armstrong! Thanks to Joseph, I got to make a scrumptious cake this week!

See, at Landon's work, they each draw names to determine who brings the cake on an individual's birthday. And, Landon drew Joseph's name. So, earlier this year, I asked Joseph what his favorite cake was to which he replied Texas De Brazil's Chocolate Mousse Cake.

I thought I could find a "copy cat" recipe online, but had no success. Luckily, I noticed my "America's Test Kitchen" cookbook had a recipe for a Triple Chocolate Mousse Cake. So, I marked it on my calendar to make on Sept. 15.

Well, I took on the challenge Sunday evening so Landon could take it to work on Monday.

The cake wasn't hard to make. The bottom consists of a flour-less chocolate cake, followed by a layer of decadent chocolate mousse and topped off with a light, creamy white chocolate mousse. Is your mouth watering yet? Let's just say total, there are 20 ounces of chocolate in the cake. It's amazing.

And, it was a crowd pleaser.


If you want a copy of the recipe, you can find it here. Trust me, it's worth it!


Friday, July 29, 2011

Under the Sea

Yesterday, my co-worker told me she was trying to plan her soon-to-be two-year-old's "Under the Sea, Little Mermaid" birthday party. I immediately told her she needed to check out Pinterest for ideas and did a little searching for her. There are so many great ideas out there.


Source: chickabug.com via Tina on Pinterest


Seriously, how cute are these? I can't wait to see what she ends up coming up with!

Happy Friday!


Wednesday, July 13, 2011

A Black and White Anniversary

June 19 marked my five-year anniversary at my company. Because I'm always looking for a good excuse to bake, I decided to make my own celebratory cake. And, because I like to make things more complicated than they need to be, I decided to make it from scratch.

Not really having a trusted recipe on hand, I decided to use one I had torn out of a recent Better Homes & Gardens that didn't look too complicated. The headline said it was the only cake recipe I would ever need, so being a trusting person, I thought it must be good.

If you want a copy of the recipe, you can find it online here. A few things about this recipe. At first I was a little nervous because I don't have three, 9-inch pans, then I remembered some aluminum ones I had bought for something and not needed, so I pulled them out to use. But, it did make me realize I need to invest in some good pans. I also realized as I started making it that I was out of parchment paper, something I usually keep on hand, so I decided to take the risk and line my pans with wax paper. It worked pretty well, though I would still probably use parchment paper in the future. Also, I luckily read this recipe before I started baking (which is something I'll admit I don't always do) to realize I needed to let the egg whites sit out for 30 minutes.

I, sadly, didn't take any pictures of the cakes in the baking process. When I pulled my cakes out of the oven, they of course were lopsided. I probably could have cut them down, but I decided that was too much work. I was afraid it was going to look funny when put together but once I got the icing on, you couldn't even tell.

Speaking of icing, in my office, there are chocolate lovers and haters (I know, how can you hate chocolate?), so I decided to make a black and white cake so everyone could enjoy. I made a half batch of vanilla sour cream frosting and a half batch of chocolate cream cheese frosting and iced the cake right down the middle.

It took some work to get it even, but icing layer at a time helped. The consistency of the icing helped, too. It was thick and spread easily.


I even added the decorative "swirls" to make it prettier.


And, to cover up the ugliness of the "seem," I added some walnuts.


Needless to say, the next day at work, it was a big hit. Better Homes & Gardens did not disappoint.


The nice thing about it was you could try both the vanilla and chocolate! I actually did and couldn't really decide which one I liked best. So, the verdict is in ... this is definitely a recipe to use again.

Tuesday, June 7, 2011

Earthquake

In case you don't keep up with basketball, you may not be aware that the Dallas Mavericks are currently battling out the Miami Heat for the NBA Championship. Normally, I wouldn't pay attention to the NBA finals, but with everyone in Dallas really excited about the possibility of having a champ, it's hard to ignore. I would like them to win, too ... who doesn't love having a winning team!

So, last Thursday, we invited some of our friends over for dinner and to watch the game. I actually didn't join them for dinner because I met an old friend and former Sunday School teacher for dinner. We figured out that we hadn't seen each other in over 10 years, so it was so great to catch up!

Knowing I wasn't going to be at dinner, I told Landon I would make a cake to enjoy afterward. So Wednesday night, I went through all my recipes and found the perfect easy, yet delicious recipe for Earthquake Cake. 

This is my "Mema's" recipe. She is the best cook! I have no idea where she got this recipe but she made it once for a dinner, and I immediately told her I needed the recipe. This was my first time to make it, but I must say it's super easy. Here is what you need:

1 cup of shredded coconut
1 cup of chopped pecans
1 German chocolate cake mix
8 oz cream cheese, softened
1 stick of butter, softened
16 oz confectioners sugar

First thing you want to do is mix the pecans and coconuts and place them in the bottom of a greased 9.5x13 pan. Next, mix up the cake mix as directed on the box and pour it over the coconut and pecan mixture. Lastly, mix the cream cheese, butter and confectioners sugar until fluffy. From here, spoon the mixture over the cake mix. It will probably look something like this.


Then, bake the cake at 350 degrees for 35-40 minutes. As it bakes, the cake rises up over the cream cheese mixture, creating a layer of goodness in the middle.


The cake was well received. I probably could have cooked mine an extra five minutes, because the middle was really gooey, but it was still really good! Sorry I don't have any pics of our friends actually enjoying the cake (I promise they did), but with my camera being broken, I've been relying on my camera phone and I just forgot to take any!


This is a great recipe if you need something easy. You could also probably use a different kind of cake mix, if you wanted, but I'm a German chocolate fan, so it's perfect to me. If you make it, let me know what you think!

Monday, April 25, 2011

Birthday Cakes & Prize-Winning Pies

Today is a great day because it's my mom's birthday!


If you don't know my mom, I'm basically a spitting image of her ... which is a good thing! I love her to death. Happy birthday, mom!

In honor of my mom's birthday, I thought I'd share a recipe with you. On Saturday, our church had an Easter celebration complete with an Easter egg hunt, carnival games and a pie contest. When I asked Landon which pie I should make, he immediately said Kentucky Derby Pie, which is a recipe my mom had given me. Now, normally, I would not be so brave as to enter this into a contest. First off, pies are not really my specialty in the baking division. I much more prefer cakes. Also, almost every time I've made this particular pie, the end result has been a little runny. But, this is the one Landon asked me to make, so I thought, "Why not?"

You could say making this is "as easy as pie." Here's what you need:


1/2 cup of butter
1 cup sugar
1/2 cup flour
2 eggs (though I might try three next time ... see below)
1 teaspoon vanilla
3/4 cup pecans
3/4 cup chocolate chips
Pie shell

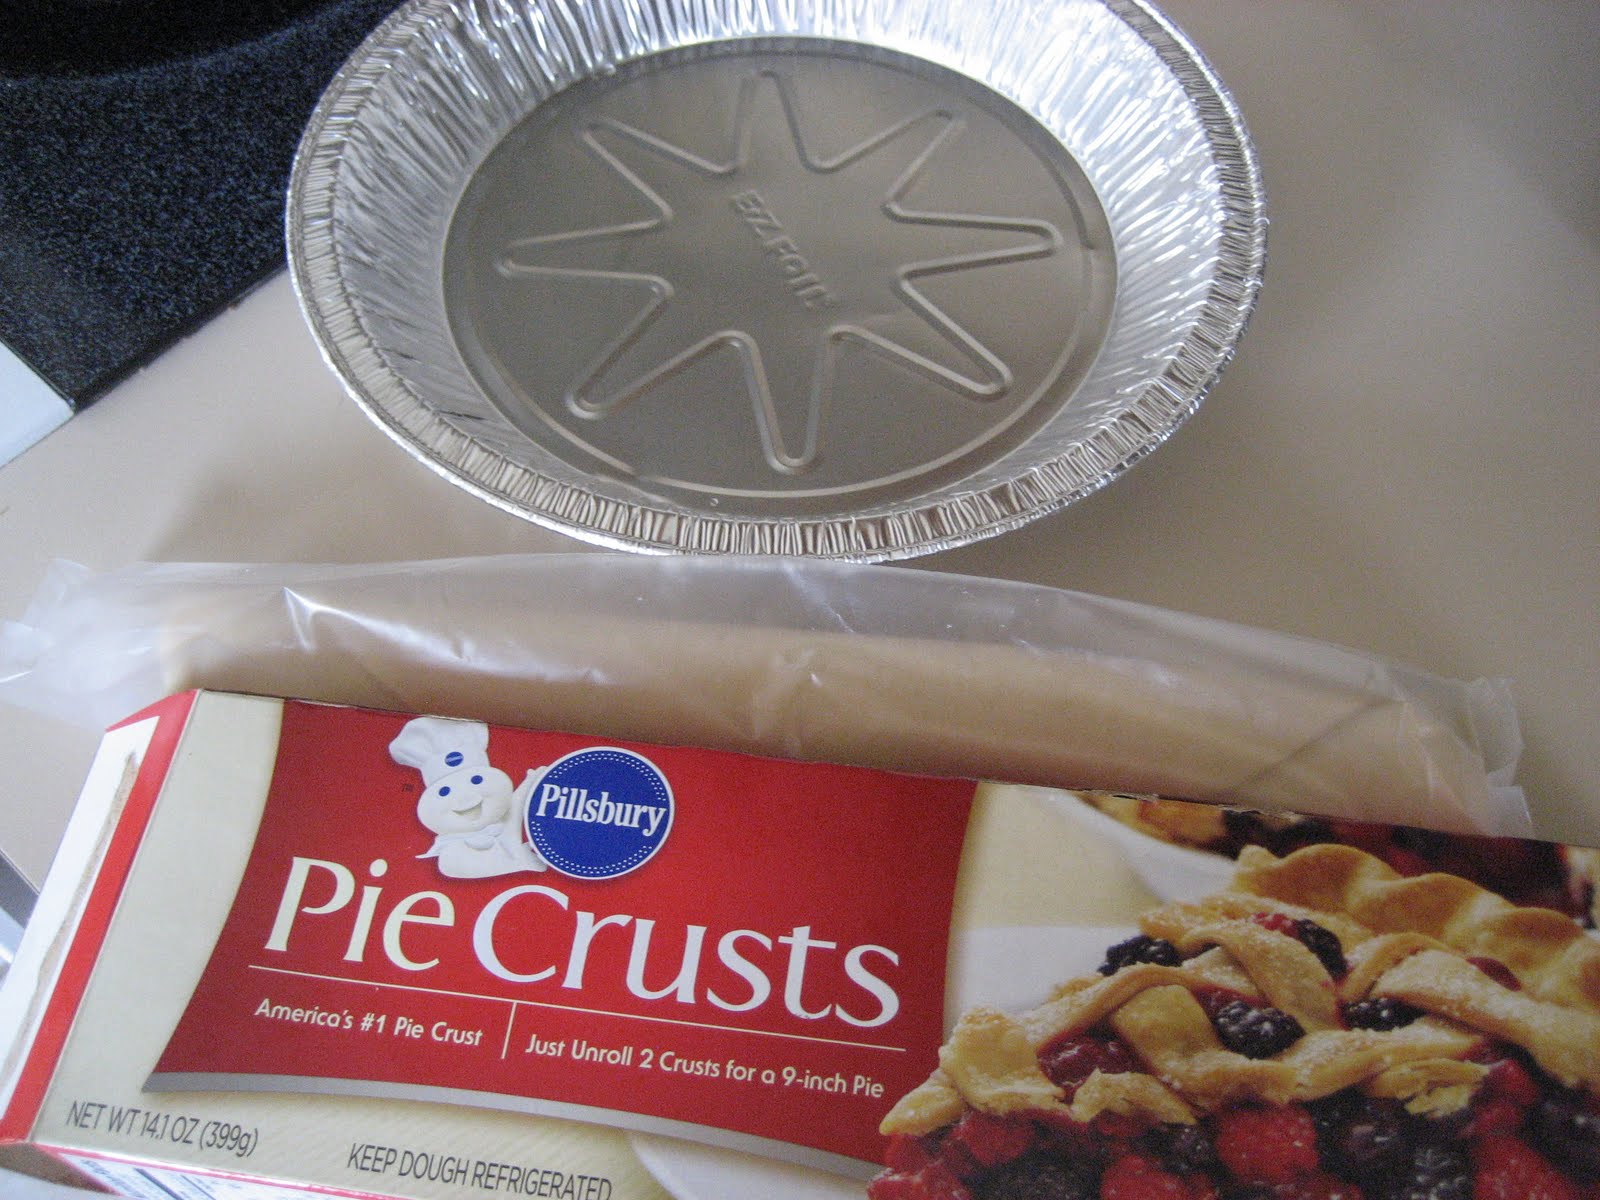
I've never been one to make my own pie shells, so I suggest either buying the frozen kind or going with the Pillsbury roll out crusts that can be found in the refrigerated section of the grocery store.


All you need to do to make Kentucky Derby Pie is mix all the ingredients together, fill your pie shell and bake at 350 degrees for 30 to 45 minutes.


It looked great, but as is typical, when they started cutting into it at the church, it proved to be runny once again. But apparently, those at church didn't mind, because it went pretty fast and still tasted delicious.


The judges must have thought so, too, because they awarded me the Best Overall Pie in the contest! 

Now, I still want to figure out this "runny" pie issue, so a friend of mine suggested adding three eggs instead of two. I think I'm going to try this the next time a make it, but even runny, it's good to know that it is officially a "prize-winning pie!"


Wednesday, January 26, 2011

My Cookbook Fetish

I'm beginning to think I have a cookbook fetish! Okay, that might be a little dramatic, but I do love to buy new cookbooks. The other night, I picked up one of my favorites at Whole Foods (I was picking up Whole Foods' awesome Three-Cheese Focaccia bread ... I don't buy much at Whole Foods, but their bread is so good!).


It's really more of a magazine than a cookbook. If you haven't discovered "America's Test Kitchen," then you are missing out! I first learned of "America's Test Kitchen" when we moved to Texas last year. We have chosen to be a family without cable, which means there aren't a lot of shows worth watching on a Saturday morning. One Saturday, while on the search for our morning entertainment, we stumbled upon PBS and the "America's Test Kitchen" TV show. I fell in love immediately.

I come from a long line of amazing cooks. If you have ever been privileged enough to have a meal at my Mema's house, then you know what I mean. My mom is also a fabulous cook. I can definitely follow a recipe, but I don't have the knowledge and instinct that my mom and Mema have ... but I wish I did.

Well, that's why I love "America's Test Kitchen." It's a product of "Cook's Illustrated." Not only do the "America's Test Kitchen" books have amazing recipes, but with each one, they tell you the techniques used, why certain techniques and ingredients work better than others and step-by-step instructions. They identify what brands are best and why they stand up to others. The concept is that they have "tested" each recipe to perfection. 

I have made lots of their recipes, and I can tell you that I haven't found any yet that I don't like from mac and cheese, shrimp and grits, pan fried pork chops and Italian-style meatloaves. Some take a lot of time, so I reserve them for Saturdays. And, they also usually have some different type of ingredients that I don't typically keep at home, so you have to prepare, but the prep work is worth it.

I now have three different "America's Test Kitchen" books - 30-Minute Suppers (Summer 2010), Best of 2010 and now the Best of 2011. Here is a sampling of what's in the 2011 book, taken from the "America's Test Kitchen" website:

"The Best of America’s Test Kitchen 2011 features a wide range of recipes from starters to desserts, from meat and pasta to vegetarian dishes and desserts, including Hot Crab Dip (from our cookbook Best Potluck Recipes), Grilled Vegetable and Bread Salad ( from the Healthy Family Cookbook), Slow-Cooker Chicken Chili (from Cook’s Country magazine), Steak Tips with Mushroom Gravy (from Cook’s Illustrated magazine), Black Bean Burgers ( from our cookbook Light and Healthy 2010), and Individual Fallen Chocolate Cakes for Two (from our Cooking for Two cookbook)."

The Wall Street Journal reviewed it and said:

"While the skilled team at America's Test Kitchen doesn't shy away from the occasional elaborate recipe—their six-layer Strawberry Stack Cake requires 15 ingredients and a lot of patience—most of the 175 recipes in this compilation concentrate on mastering the basics and turning out delicious home cooking with a minimum of wasted time ... If, like frontiersman Kit Carson on his deathbed, you've ever wished that you had 'time for just one more bowl of chili,' this one is for you."

That's exactly how I feel with their recipes! I get excited every time I plan a dinner from one of these books, because I know it is going to be so good. Mmmm ....  I can't wait to try out some of these new recipes!

Do you have any cookbooks that you just love? If so, let me know!


Friday, January 21, 2011

My Creative Friend

My childhood best friend Ashley, whom I've known since kindergarten, definitely trumps me on creativity! Ashley just recently got engaged (yea!!!) and is busy planning her fabulous DIY wedding.


Well, last week, unexpectedly, I received something in the mail from Ashley (we live several states away). Just to get mail is always exciting, but imagine my surprise when I opened up the box and found this!

Seriously, how creative is that?!? 

We've made a lot of memories together over the years, and I'm so excited to be a part of her big day, which is on April 2! Congratulations, Ashley!!!!

Friday, January 14, 2011

A Birthday Treat

Today is a very special day because it's my amazing husband's birthday!!! So, in honor of the momentous occasion, I decided last night around 6 p.m. that I needed to make him a proper birthday treat. ("Why didn't I plan ahead?" you ask, despite knowing today was going to be Landon's birthday? I don't know!) 

After listing a few things off to him that I was willing to make, it was clear after I mentioned cheesecake and received his follow up question of, "You are going to make a cheesecake?" that, that is what he really wanted. So, I pulled out one of my favorite cheesecake recipes and headed to the store (because, of course, I had no plans to make anything until this moment).

Now, for those of you who made it your New Year's resolution to eat healthy, I advise you to simply stop reading now. Seriously. 

This cheesecake is not for those on a diet. Matter of fact, it might be one of the worst things you could ever eat, but it is oh so good. I found the recipe somewhere online, and it is supposedly a "Cheesecake Factory Cheesecake." I'm not going to claim it's as good as the restaurant's, but it would rival any other homemade cheesecake.

Here's what you need. First, let's start with the crust. That's one of the things that makes this cheesecake a little different than others. It doesn't just have a graham cracker crust. The ingredients include:

Crust
1/4 cup finely chopped pecans
1/4 cup finely chopped almonds
1/4 cup finely chopped walnuts
3/4 cup finely chopped vanilla wafers
2 Tablespoons melted butter

First things first, pull out your food processor or mini chopper and make sure everything is nice and fine.
Next, add in your melted butter. It won't be a real moist crust, but that's okay. Press the mixture into a 9-inch buttered springform pan, trying to line the sides as much as possible. The recipe says to try and go about one and a half inch up the sides, but I can never get mine that high. I just do what I can.

Next, it's time to work on the filling. Here is what you are going to need:

Filling
24 ounces cream cheese
1 1/3 cups sugar
5 large eggs
16 ounces sour cream
1/4 cup flour
2 teaspoons vanilla extract
2 teaspoons lemon juice

This time, you'll need to pull out your mixer. The recipe says to begin with all ingredients at room temperature. This really is wise, but I have to confess that my ingredients are never fully room temp, so my cheesecake may not be quite as smooth as it should be. But, honestly, I always forget that one little direction, and it's usually too late for me to wait for everything to warm up!

Anyway, back to the recipe ... start by beating your cream cheese until it is light and fluffy, keeping the mixer on the low setting throughout this entire process.

Next, add the sugar a little at a time, continuing to beat the mixture until creamy. 

Now, add one egg at a time and beat after each. 

When eggs have been mixed into the cream cheese, add the flour, vanilla and lemon juice and mix well. Add the sour cream last and once again, beat well. By now, you should have a creamy mixture.

Add this mixture into your springform pan. You should have plenty of filling so that your pan is very full.

My mouth is already watering! Okay, so the hardest part is done but unfortunately, we are no where near being able to enjoy!

Next, place the pan on the top rack in the middle of a 325 degree preheated oven for one hour and 15 minutes. (I was going to post a pic of my cheesecake in the oven, but then I realized how dirty the inside of my oven is! Yikes! I need to add that to my to-do list!) A little advice, speaking from my own experience, don't put your oven rack as high up as it will go. The cheesecake will rise and if it's too high up, you will have a nice mess on the top oven burners!

When the time is up (and your kitchen is smelling really good), prop open the oven door. Now, once again, you don't get to enjoy just yet. Leave the cheesecake in the oven with the door open for another hour. (I know, for those of you like me who are impatient, this recipe is a good test of patience!)


After one hour, you can finally remove the cheesecake from the oven. Let it cool pretty well and then place the cheesecake in the fridge. The recipe says to leave the cheesecake in the fridge for 24 hours so that it can season. If you think ahead to make this 24 hours before you are planning to eat in, then by all means, follow the directions. It will be worth the wait.

But, since I didn't get started on mine until 6 p.m. yesterday (really more like 7 p.m., by the time I went to the store), then we'll be digging in a little early! We have some friends coming over tonight to  celebrate Landon's birthday and help us eat the cheesecake. I can't wait!

Now, one thing with cheesecakes that I have never been able to avoid is cracking. Every cheesecake I have ever made has cracked, including the one last night.

I know some people will cook the cheesecake in a water bath. I've never done this but would love to hear if you've perfected the "no crack" cheesecake and have a secret.

If, like me, you haven't, then that's okay. There are a few ways to remedy the situation. There is  actually a video on e-how.com of a professional showing how to fill in the cracks. He makes it look really easy. If it had not been 11 p.m. last night by the time my cheesecake was done, I might have tried this, but instead, I decided to use another tried and true trick -- topping. I always buy a little topping for the cheesecake, though it really doesn't need anything. One of my favorite toppings is cherry pie filling, but you could also do hot fudge, caramel or strawberry topping.

I figure tonight, once it's nice and chilled, and I've sliced it and added some topping, no one will really know that it was cracked. Also, as much as I'd love for my cheesecake to look perfect, all that really matters is the taste, and I can guarantee that it will be good tonight!